Wound care Part 1
Living on a homestead is one of the most rewarding things ever. We’re not where we want to be yet, but we’re getting there. But living out in the woods, off grid and perhaps far from help can be a challenge. On the homestead we do us potentially hazardous equipment. Chainsaws, tiller, axes and hell even shovels. Accidents happen. This is a series of blogs on trauma management.
Wound treatment.
It doesn’t matter what type of wound; the basics are the same.
-
Stop the bleeding. If you leave out this step the following are redundant
-
Assess the wound. How deep, how long, how wide. Is anything major missing? Is there an exit or more than one entrance and exit?
-
Clean the wound. This should be the longest part of wound treatment. If it isn’t cleaned properly then the following is not really needed.
-
Close the wound. Here choose the method of closing. Steri Strips Glue, Suture or staples. Or a simple bandaid.
-
Dress the wound. Whether it’s a simple bandaid to a wet to dry drainage dressing to a pressure dressing. Are you going to do antibiotic salves or leave it dry?
-
Manage the wound. This is where we deviate from the “Tactical ” medicine to a sustainable medicine mind set. In the tactical environment one dresses the wound and over to the next. In a long term situation you have to manage the healing of then patient. Schedule dressing changes, debridement (Trimming excess or dead tissue) therapy to prevent scar tissue from making it difficult to move after it heals.
Time is blood.
Seems like a lot to deal with over a cut. Yes? It should be. A life is at stake here.
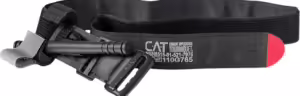
Stopping the bleeding. Do what you need to do. Pressure Points Elevation, Direct Pressure, Clot activators. Tourniquet. This must be done first.
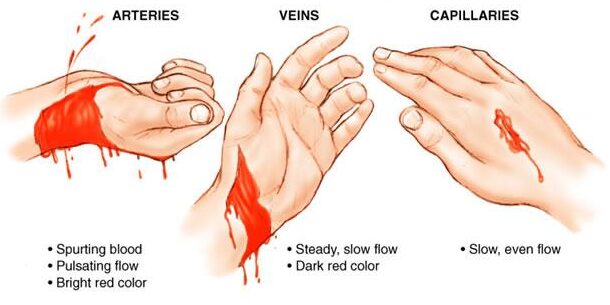
Types of Bleeding. Arterial Venous and Capillary
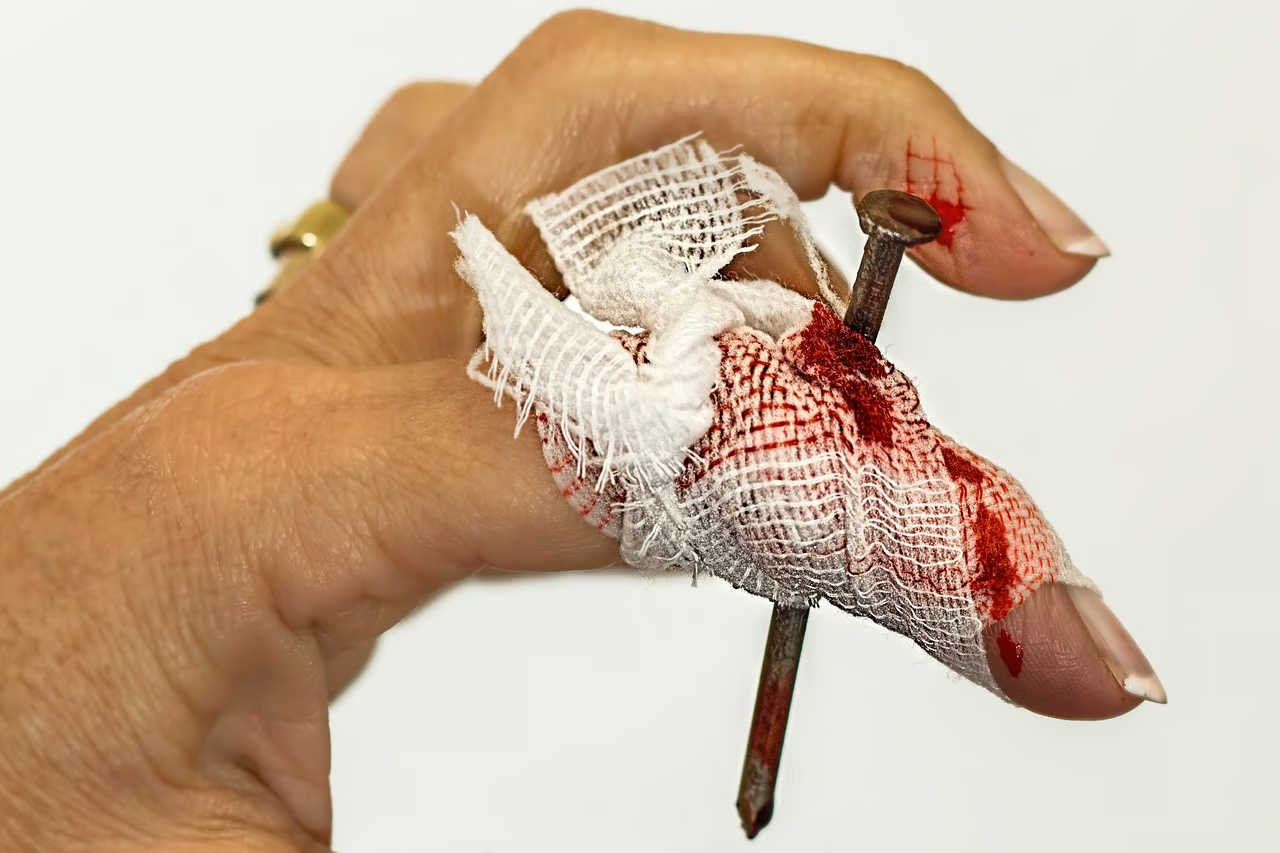
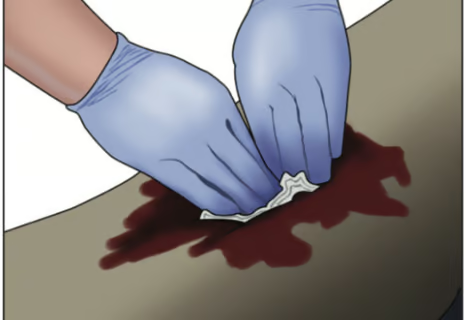
Direct Pressure
Applying direct pressure means placing a dressing over the wound and pressing on it, hard. Direct pressure hurts and a conscious victim will complain (yell) when pressure is applied to a serious wound. Direct pressure is the best way to stop bleeding
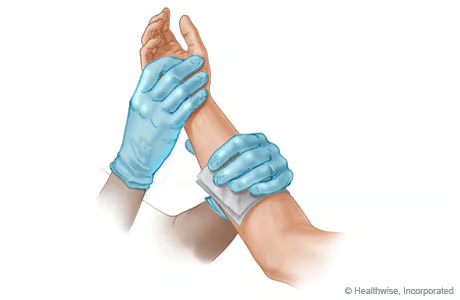
Elevation
First off. Yes, I know it’s a silly image. But it makes the point. To elevate a wound means to raise it above the level of the heart. By elevating a wound, gravity helps to stop the blood flow. If possible, have the victim lay down and raise the wound as high as possible. If the wound is in the victim’s torso or abdomen, try to have the victim roll on his side or place padding beneath the victim.
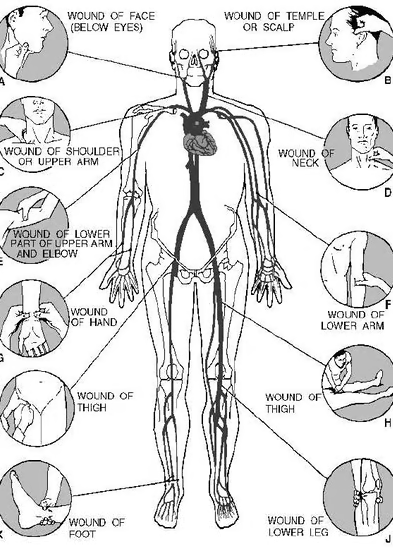
Pressure Points
Pressure points are places within the body where an artery passes close to a bone. In those places, applied pressure can pinch off the artery and stop the blood flow to a limb. Each arm and leg has one main artery that supplies most of the blood to that limb.
The arm’s pressure points are located halfway along the upper arm, on the inside. Press between the bicep (the top muscle) and the tricep (the bottom muscle) until you can feel the bone. The artery is there (the pulse can be felt there, too). Push hard to stop the blood flow.
The leg’s pressure points are located in the hips. They are in the bowl of the hip on either side of the groin, where the leg joins the torso. Press hard on that point with the heel of the hand to stop the blood flow.
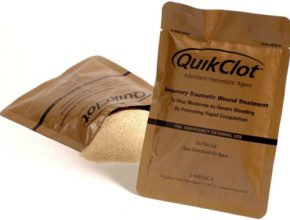
Clot Accelerators.
These are products that accelerate clot formation by either mechanical means or by activating certain factors of the clotting cascade. Quick Clot and Celox ™ is the standard that all are measured by. The active ingredient of Quick Clot and Celox is Kaolin clay. Quick Clot comes in a fantastic bandage form that is packed into the wound then the rest is wrapped about it, Celox is the traditional crystals.
It contains a polymer to keep the dust down. You can make your own preppers quick clot by taking Kaolin and adding water to it to make a thin pancake batter. Line a cookie sheet with foil and pour the batter on it. Bake at 300 degrees til completely dry and a cracked appearance shows. While this is done sterilize some vacuum seal bags. Any method works. I am partial to using boil proof vacuum bags. I boil them for 10 minutes and let them dry completely. Put about 2 tablespoons in each bag and seal. This is NOT 100% sterile. But I have never been able to grow a culture from any of mine.

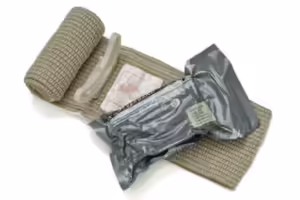
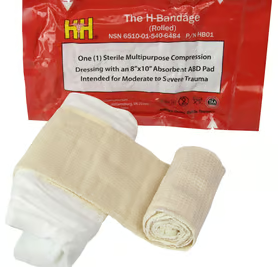
Pressure Dressing.
A pressure dressing is a bandage that when applied, applies pressure to the wound to control the bleeding. It can range from the old GI battle dressing to an ACE Bandage and a Maxipad. The Israeli and the H are the modern incarnation of that. They both work VERY well, are simple to use. Even one handed on yourself. And worth their weight in gold.